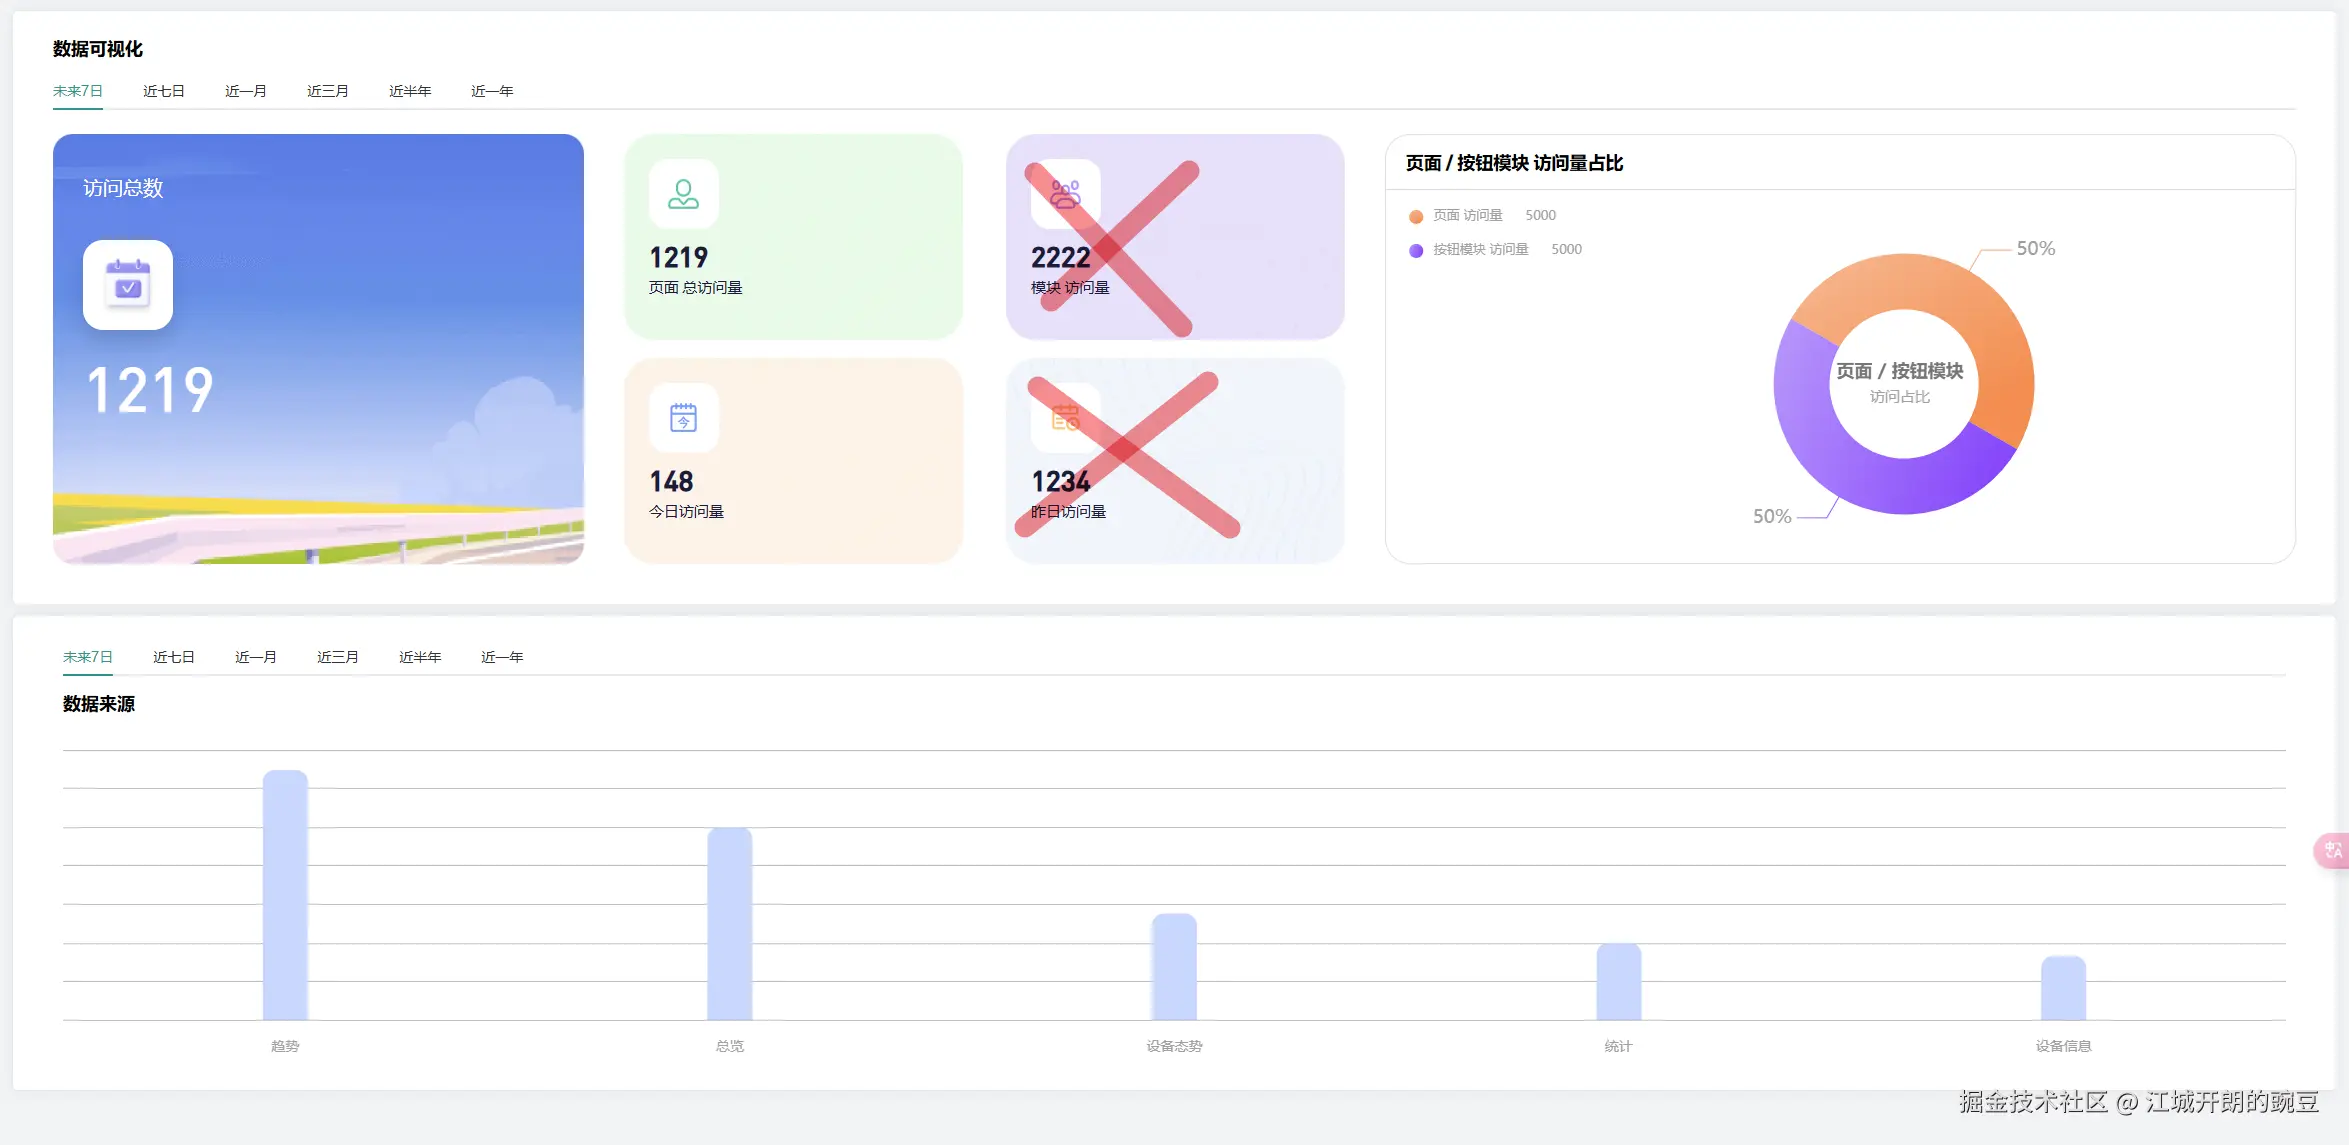
要实现用户访问量统计和模块点击统计功能,可以采用以下方案:
一、前端(Vue)实现
1. 安装必要的依赖
npm install axios --save  # 用于发送请求
npm install js-cookie --save  # 用于识别用户
2. 创建埋点工具类 (tracker.js)
import axios from 'axios';
import Cookies from 'js-cookie';

const Tracker = {
  // 初始化用户ID(如果不存在)
  initUserId() {
    let userId = Cookies.get('user_id');
    if (!userId) {
      userId = 'user_' + Math.random().toString(36).substr(2, 9);
      Cookies.set('user_id', userId, { expires: 365 });
    }
    return userId;
  },

  // 发送页面访问埋点
  trackPageView() {
    const userId = this.initUserId();
    const data = {
      userId: userId,
      eventType: 'pageview',
      pageUrl: window.location.href,
      timestamp: new Date().toISOString()
    };
    this.sendData(data);
  },

  // 发送模块点击埋点
  trackModuleClick(moduleName) {
    const userId = this.initUserId();
    const data = {
      userId: userId,
      eventType: 'module_click',
      moduleName: moduleName,
      timestamp: new Date().toISOString()
    };
    this.sendData(data);
  },

  // 发送数据到后端
  sendData(data) {
    axios.post('/api/track', data)
      .catch(error => {
        console.error('Tracking error:', error);
      });
  }
};

export default Tracker;
3. 在Vue应用中使用
全局埋点 (main.js)
import Tracker from './utils/tracker';
import router from './router';

// 页面访问埋点
router.afterEach((to, from) => {
  Tracker.trackPageView();
});

// 挂载到Vue原型,方便组件内使用
Vue.prototype.$tracker = Tracker;
组件内模块点击埋点
<template>
  <div>
    <button @click="handleClick('module1')">模块1</button>
    <button @click="handleClick('module2')">模块2</button>
  </div>
</template>

<script>
export default {
  methods: {
    handleClick(moduleName) {
      // 业务逻辑...

      // 埋点
      this.$tracker.trackModuleClick(moduleName);
    }
  }
}
</script>
二、后端(Node.js)实现
1. 创建数据库表
假设使用MySQL:
CREATE TABLE tracking_events (
  id INT AUTO_INCREMENT PRIMARY KEY,
  user_id VARCHAR(255),
  event_type VARCHAR(50),
  page_url VARCHAR(500),
  module_name VARCHAR(100),
  created_at TIMESTAMP DEFAULT CURRENT_TIMESTAMP
);

CREATE TABLE daily_stats (
  id INT AUTO_INCREMENT PRIMARY KEY,
  date DATE UNIQUE,
  total_visits INT DEFAULT 0,
  unique_visitors INT DEFAULT 0,
  created_at TIMESTAMP DEFAULT CURRENT_TIMESTAMP,
  updated_at TIMESTAMP DEFAULT CURRENT_TIMESTAMP ON UPDATE CURRENT_TIMESTAMP
);

CREATE TABLE module_stats (
  id INT AUTO_INCREMENT PRIMARY KEY,
  module_name VARCHAR(100) UNIQUE,
  click_count INT DEFAULT 0,
  created_at TIMESTAMP DEFAULT CURRENT_TIMESTAMP,
  updated_at TIMESTAMP DEFAULT CURRENT_TIMESTAMP ON UPDATE CURRENT_TIMESTAMP
);
2. Node.js 后端接口 (Express示例)
const express = require('express');
const bodyParser = require('body-parser');
const mysql = require('mysql2/promise');
const app = express();

// 数据库连接配置
const pool = mysql.createPool({
  host: 'localhost',
  user: 'root',
  password: 'password',
  database: 'tracking_db',
  waitForConnections: true,
  connectionLimit: 10,
  queueLimit: 0
});

app.use(bodyParser.json());

// 埋点数据接收接口
app.post('/api/track', async (req, res) => {
  try {
    const { userId, eventType, pageUrl, moduleName } = req.body;

    // 1. 记录原始事件
    await pool.query(
      'INSERT INTO tracking_events (user_id, event_type, page_url, module_name) VALUES (?, ?, ?, ?)',
      [userId, eventType, pageUrl, moduleName]
    );

    // 2. 如果是页面访问,更新每日统计
    if (eventType === 'pageview') {
      await updateDailyStats(userId);
    }

    // 3. 如果是模块点击,更新模块统计
    if (eventType === 'module_click' && moduleName) {
      await updateModuleStats(moduleName);
    }

    res.status(200).send('OK');
  } catch (error) {
    console.error('Tracking error:', error);
    res.status(500).send('Internal Server Error');
  }
});

// 更新每日统计
async function updateDailyStats(userId) {
  const today = new Date().toISOString().split('T')[0];

  // 检查今天是否已有记录
  const [rows] = await pool.query('SELECT * FROM daily_stats WHERE date = ?', [today]);

  if (rows.length === 0) {
    // 新的一天,创建新记录
    await pool.query(
      'INSERT INTO daily_stats (date, total_visits, unique_visitors) VALUES (?, 1, 1)',
      [today]
    );
  } else {
    // 更新现有记录
    // 检查用户今天是否已经访问过
    const [visits] = await pool.query(
      'SELECT COUNT(DISTINCT user_id) as user_visited FROM tracking_events ' +
      'WHERE event_type = "pageview" AND DATE(created_at) = ? AND user_id = ?',
      [today, userId]
    );

    const isNewVisitor = visits[0].user_visited === 0;

    await pool.query(
      'UPDATE daily_stats SET total_visits = total_visits + 1, ' +
      'unique_visitors = unique_visitors + ? WHERE date = ?',
      [isNewVisitor ? 1 : 0, today]
    );
  }
}

// 更新模块统计
async function updateModuleStats(moduleName) {
  await pool.query(
    'INSERT INTO module_stats (module_name, click_count) VALUES (?, 1) ' +
    'ON DUPLICATE KEY UPDATE click_count = click_count + 1',
    [moduleName]
  );
}

// 获取统计数据的接口
app.get('/api/stats', async (req, res) => {
  try {
    // 总访问量
    const [totalVisits] = await pool.query('SELECT SUM(total_visits) as total FROM daily_stats');

    // 今日访问量
    const today = new Date().toISOString().split('T')[0];
    const [todayStats] = await pool.query('SELECT * FROM daily_stats WHERE date = ?', [today]);

    // 热门模块
    const [popularModules] = await pool.query(
      'SELECT module_name, click_count FROM module_stats ORDER BY click_count DESC LIMIT 5'
    );

    res.json({
      totalVisits: totalVisits[0].total || 0,
      todayVisits: todayStats[0] ? todayStats[0].total_visits : 0,
      todayUniqueVisitors: todayStats[0] ? todayStats[0].unique_visitors : 0,
      popularModules: popularModules
    });
  } catch (error) {
    console.error('Error fetching stats:', error);
    res.status(500).send('Internal Server Error');
  }
});

const PORT = 3000;
app.listen(PORT, () => {
  console.log(`Server running on port ${PORT}`);
});
三、数据可视化
可以创建一个管理后台页面来展示这些统计数据:
<template>
  <div class="stats-dashboard">
    <h1>网站访问统计</h1>

    <div class="stats-grid">
      <div class="stat-card">
        <h3>总访问量</h3>
        <p class="stat-value">{{ stats.totalVisits }}</p>
      </div>

      <div class="stat-card">
        <h3>今日访问量</h3>
        <p class="stat-value">{{ stats.todayVisits }}</p>
      </div>

      <div class="stat-card">
        <h3>今日独立访客</h3>
        <p class="stat-value">{{ stats.todayUniqueVisitors }}</p>
      </div>
    </div>

    <div class="popular-modules">
      <h2>热门模块</h2>
      <ul>
        <li v-for="(module, index) in stats.popularModules" :key="index">
          {{ module.module_name }}: {{ module.click_count }} 次点击
        </li>
      </ul>
    </div>
  </div>
</template>

<script>
import axios from 'axios';

export default {
  data() {
    return {
      stats: {
        totalVisits: 0,
        todayVisits: 0,
        todayUniqueVisitors: 0,
        popularModules: []
      }
    };
  },
  mounted() {
    this.fetchStats();
  },
  methods: {
    async fetchStats() {
      try {
        const response = await axios.get('/api/stats');
        this.stats = response.data;
      } catch (error) {
        console.error('Error fetching stats:', error);
      }
    }
  }
};
</script>

<style>
.stats-dashboard {
  max-width: 1200px;
  margin: 0 auto;
  padding: 20px;
}

.stats-grid {
  display: grid;
  grid-template-columns: repeat(3, 1fr);
  gap: 20px;
  margin-bottom: 30px;
}

.stat-card {
  background: #f5f5f5;
  padding: 20px;
  border-radius: 8px;
  text-align: center;
}

.stat-value {
  font-size: 24px;
  font-weight: bold;
  margin: 10px 0 0;
}

.popular-modules ul {
  list-style: none;
  padding: 0;
}

.popular-modules li {
  padding: 10px;
  background: #f0f0f0;
  margin-bottom: 5px;
  border-radius: 4px;
}
</style>
四、优化建议
性能优化:
- 前端可以使用节流(throttle)或防抖(debounce)技术减少高频点击的埋点请求
- 后端可以考虑使用批量插入代替单条插入
数据准确性:
- 使用更可靠的用户识别方式,如结合IP、设备指纹等
- 考虑使用Web Beacon API在页面卸载时发送数据
扩展性:
- 可以添加更多事件类型(如停留时长、滚动深度等)
- 可以按时间段(小时/天/周)分析访问模式
隐私合规:
- 添加用户同意机制(如GDPR合规)
- 提供隐私政策说明数据收集用途
这个方案提供了完整的从前端埋点到后端存储再到数据展示的全流程实现,你可以根据实际需求进行调整和扩展。
以上就是基于Vue+Node.js实现埋点功能全流程的详细内容,更多关于Vue+Node.js埋点功能的资料请关注站长网其它相关文章!


